Table of Contents
Website Content
Creating content for your website's pages in Opal raises awareness of upcoming changes using placements, and allows you to personalize content for specific user groups with labels.
Create Website Content
- Navigate to a moment.
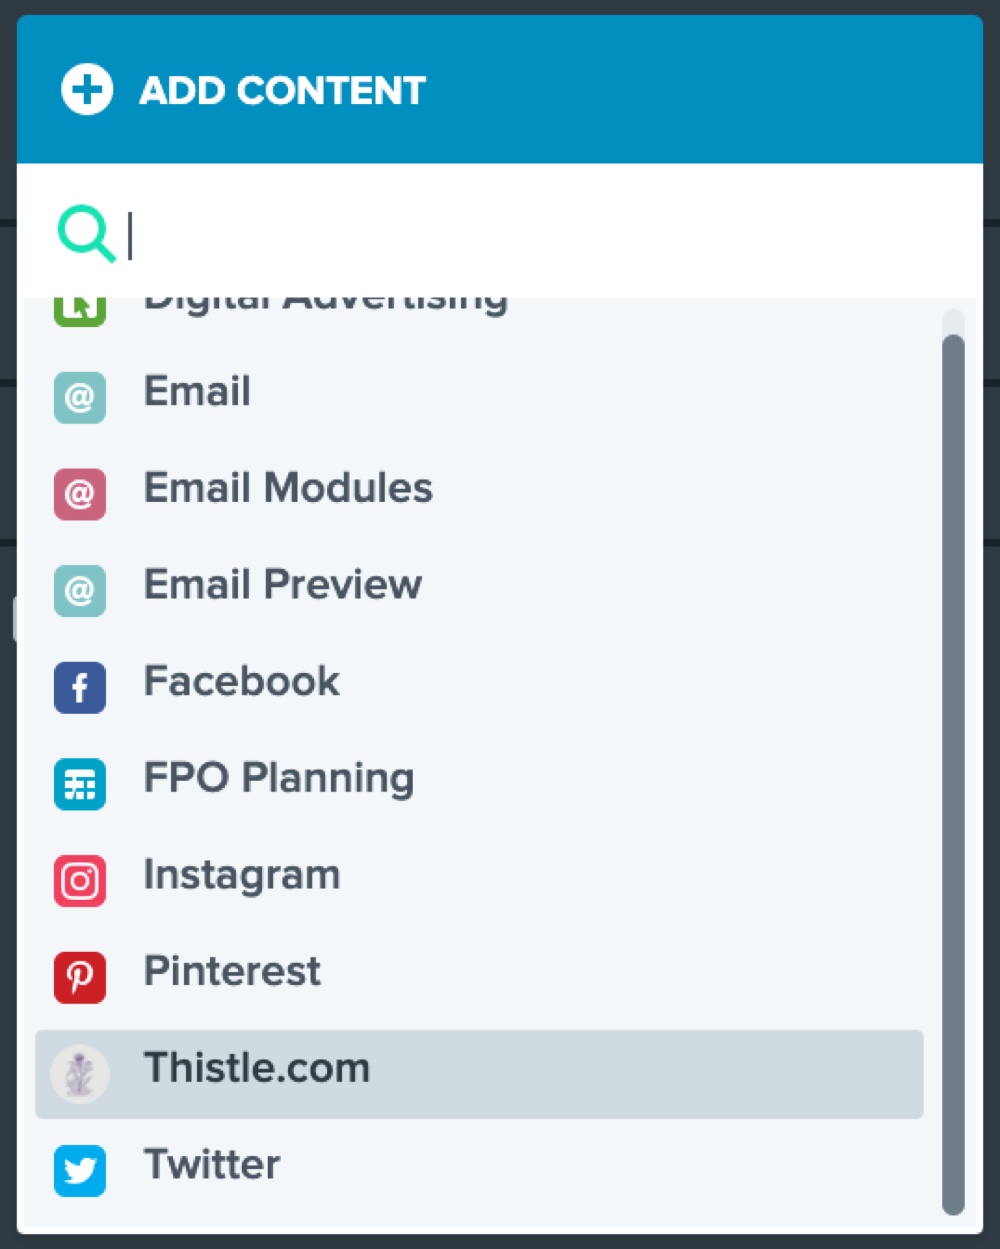
- Click the "Add Content" button
- Select the website channel, e.g. Thistle.com.
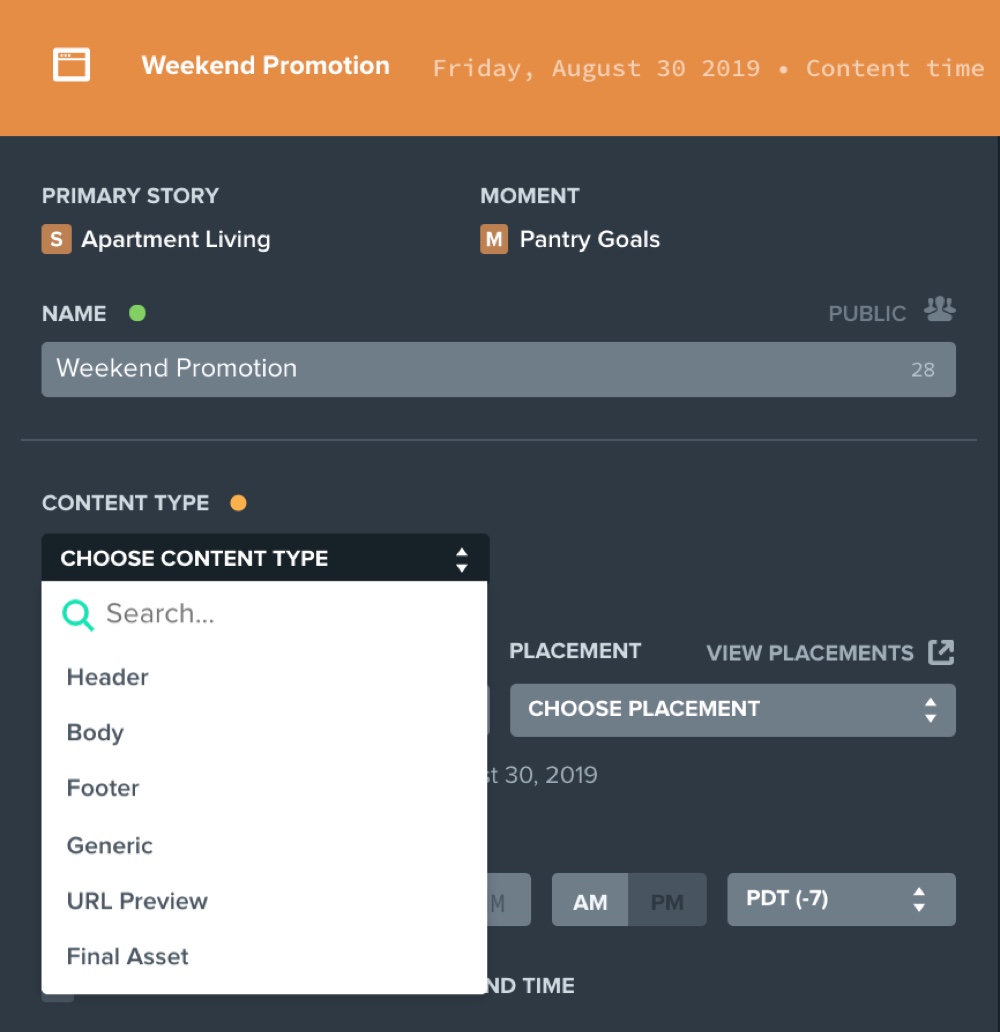
After adding the desired number of content pieces, one for each part of your website, open each content card and select the content type from the drop-down menu in the Composer.
Content Types
Select a content type from the drop-down menu to add copy and assets.
Header & Footer
The Header & Footer content types are used to render full-bleed assets which fit to the width of the header with no added padding. These content types support image file types such as PNG, JPG, GIF, and most PDFs.
Note: Images and videos are displayed at 900 pixels wide edge to edge and will stretch to the image width.
Body
The Body content type supports a robust list of flexible components which can be added to the same piece of content and together used to represent the website content. Each component supports a specific combination of assets, text, formatting options, columns, CTA buttons, CTA links, and other elements. Access the options for each component by hovering over the component then clicking the gear icon. Note: Asset and Hero images are displayed at 900 pixels wide edge to edge and will stretch to the image width. Note: Asset & Description images are displayed at 420 pixels wide edge to edge and will stretch to the image width. | 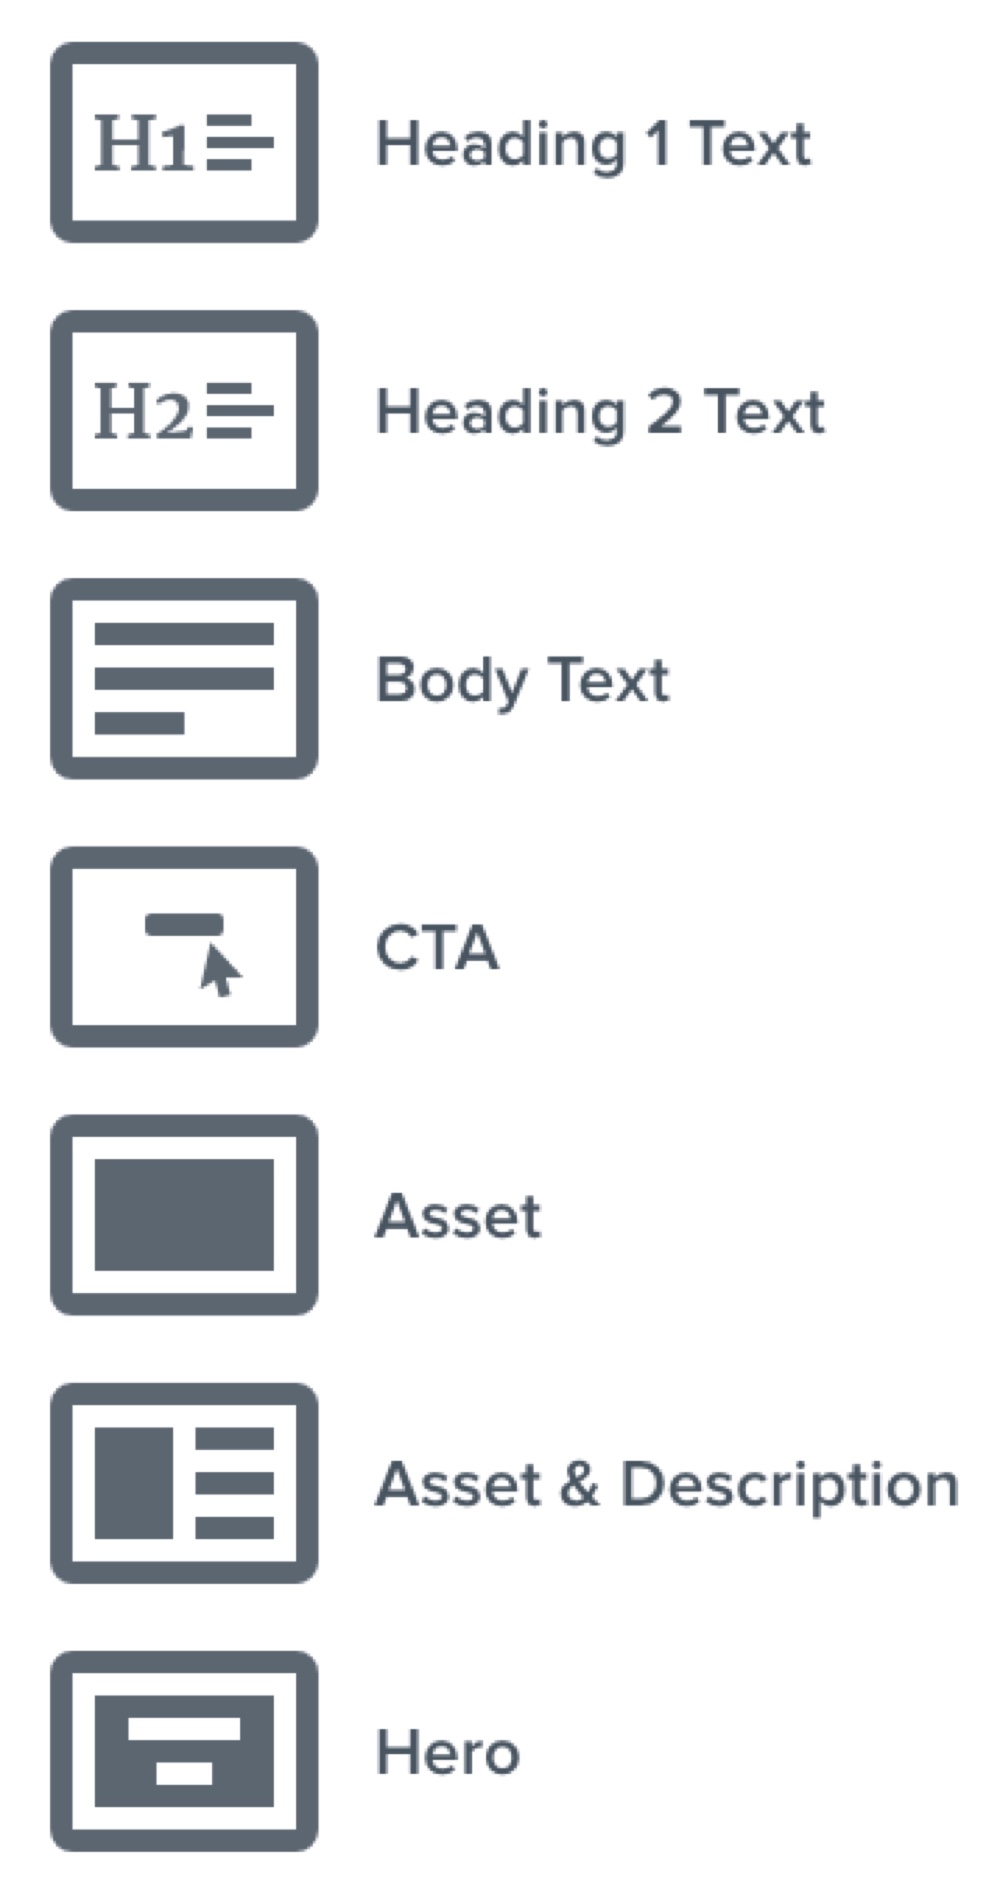 |
Generic
The Generic content type supports plain text and up to 100 image, 100 video, 100 file or 10 audio attachments. Images and videos are displayed at 900 pixels wide.
URL Preview
The URL Preview content type will fetch a screenshot of the content available via a URL. The screenshot can be refreshed at anytime using the refresh button and images are displayed at 600 pixels wide with an adjustable height based on the length of the webpage.
Final Asset
The Final Asset content type allows for a single asset to be uploaded to represent the final design of the webpage.
Add & Rearrange Body Components
When the Content Type "Body" is selected, each piece of content can be configured using a variety of different component types to create unique layouts.
- Navigate to a piece of content.
- Click the content card.
- Select the “Body” content type.
- Click "Add Component."
- Select the intended component option.
- Heading 1 Text
- Heading 2 Text
- One Column Text
- Two Column Text
- Three Column Text
- One Asset
- Two Assets
- Three Assets
- One CTA
- Two CTA
- Three CTA
- Asset & Description
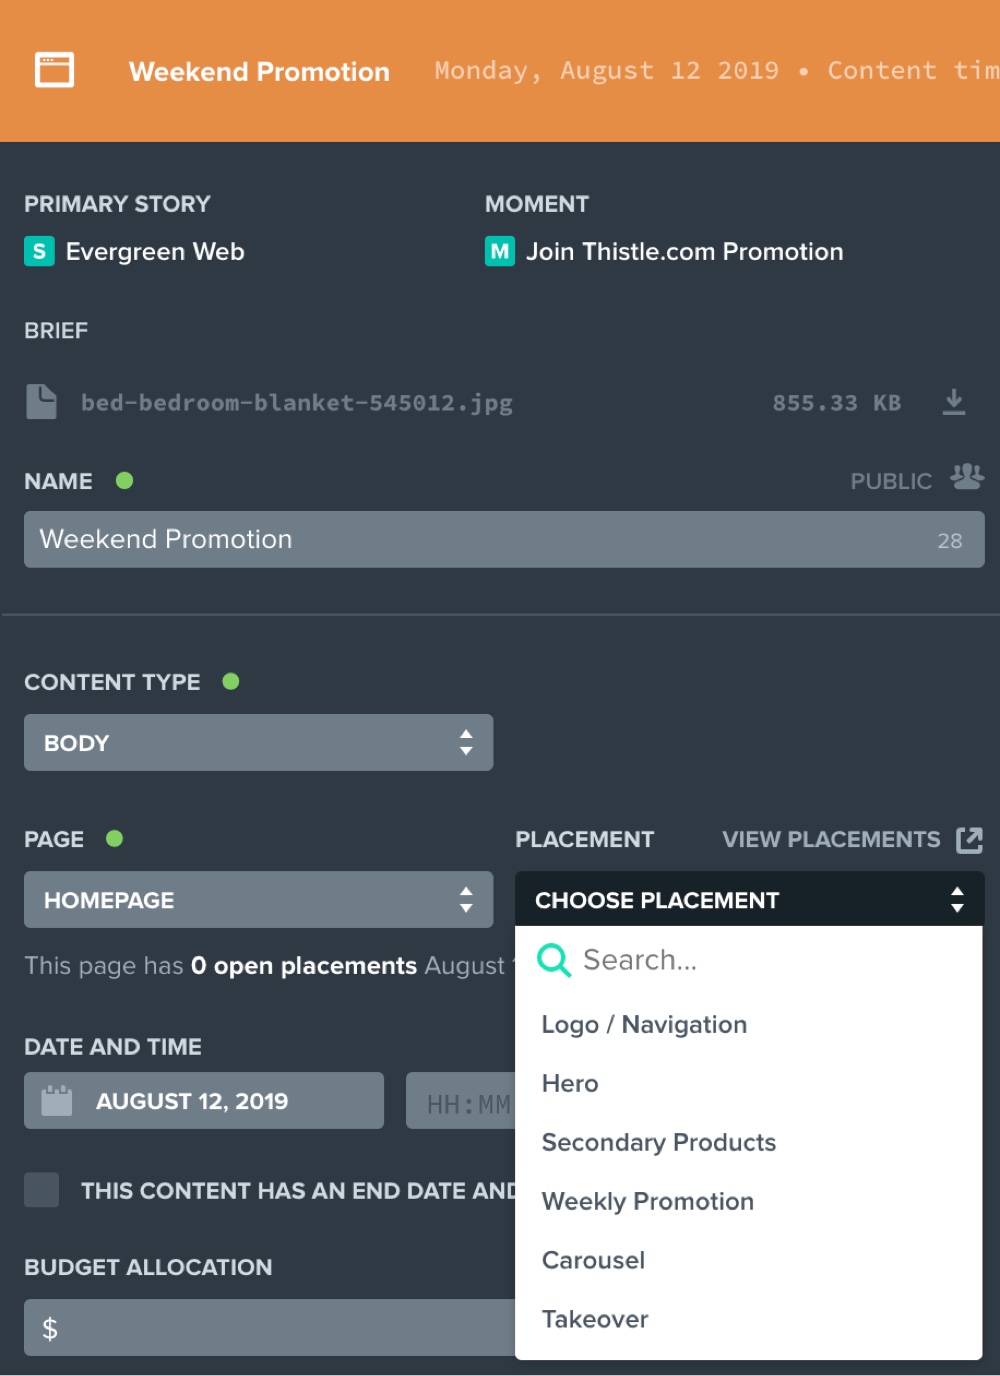
Select a Placement
Each placement is a space that your website content can occupy on a specific webpage. That placement may be any number of spaces such as the logo, navigation bar, hero, carousel, email signup, footer, etc.
- Navigate to a piece of content.
- Click the content card.
- Below Placement, click the dropdown arrows.
- Select the intended placement.
- Click “Save“ or “Save + Close.”
Additional Information
Responsive Design
Content created using the Custom Content channel is not responsive. We recommend creating a second channel for a mobile site or an account (aka page) for mobile under an existing channel (aka website).
Delivery and Integration
It is easy to export all related content to a CSV file via the Placement Previewer. The CSV includes all the assets, copy, CTA links, as well as a PNG snapshot of website content. This file can then be sent to the website publisher.
Currently, Opal does not have an integration in place to deliver Website content to a CMS. Please notify support if this capability would be beneficial to your workflow.
Administrator Only
To manage placements, navigate to the "Configure" icon located in the left-hand sidebar and then select Accounts.
Create Website Channel
First you'll need to create a website channel for each webpage.
For example, the team at Thistle would need to create one website channel for thistle.com.
- Hover over the sidebar, then click ⋮, located next to the Opal logo.
- Click “Accounts”.
- Click “Add Channel or Account +.”
- Click "Add Custom Content."
- Enter the channel name, e.g. thistle.com.
- Select default image or upload an image.
- Optionally, update the Sub-Channel name to reflect your team's terminology, e.g. Page.
- Optionally, select/deselect content types.
- Optionally, update the name of the content type to reflect your team's terminology.
- Click "Create Channel."
Create Website Page
After a website channel is created, an account will need to be created for each page.
For example, the team at Thistle would create a unique page for home, about, sale, outdoor, bed, bath, and every other page on thistle.com.
- Hover over the sidebar, then click ⋮, located next to the Opal logo.
- Click “Accounts”.
- Scroll to your website channel.
- Hover over your website channel then click "Add Page."
- Enter the Page Name, e.g. home.
- Optionally, enter the Page URL.
- Click "Create Page."
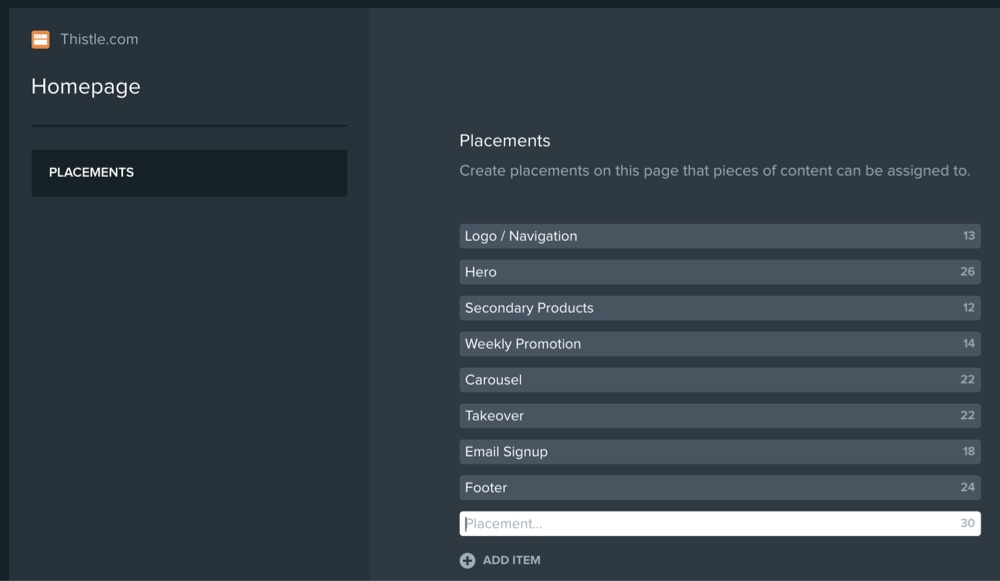
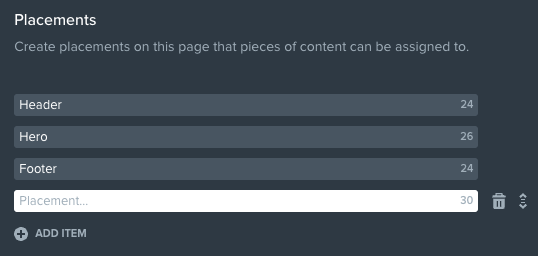
Manage Placements
Add Placement
- Hover over the sidebar, then click ⋮, located next to the Opal logo.
- Click “Accounts”.
- Find the account you would like to use.
- Click the Placements icon, a stack of 4 lines.
- Click "Add Item" and enter the placement name - there is a 30-character limit.
- To rearrange a placement, hover over the placement, then click, drag, and drop via the up/down arrows located on the right-hand side of the placement.
- Click “Done.”
Delete Placement
- Hover over the sidebar, then click ⋮, located next to the Opal logo.
- Click “Accounts”.
- Find the account you would like to use.
- Click the Placements icon, a stack of 4 lines.
- Hover over the placement you wish to delete.
- Click the trash icon.
- Click “Delete Placement.”
- Click “Done.”